Beginner's Guide
So you’ve discovered the world of refillable planners — welcome! At Rosie Papeterie, we know it can feel confusing at first with all the talk of rings, discs, and sizes. Don’t worry — this guide will walk you through the basics and help you choose the perfect setup.
Already ready to start building? Jump to our Step-by-Step Planner Builder
1. What is a planner system?
When we say “system,” we’re talking about how your planner is put together.
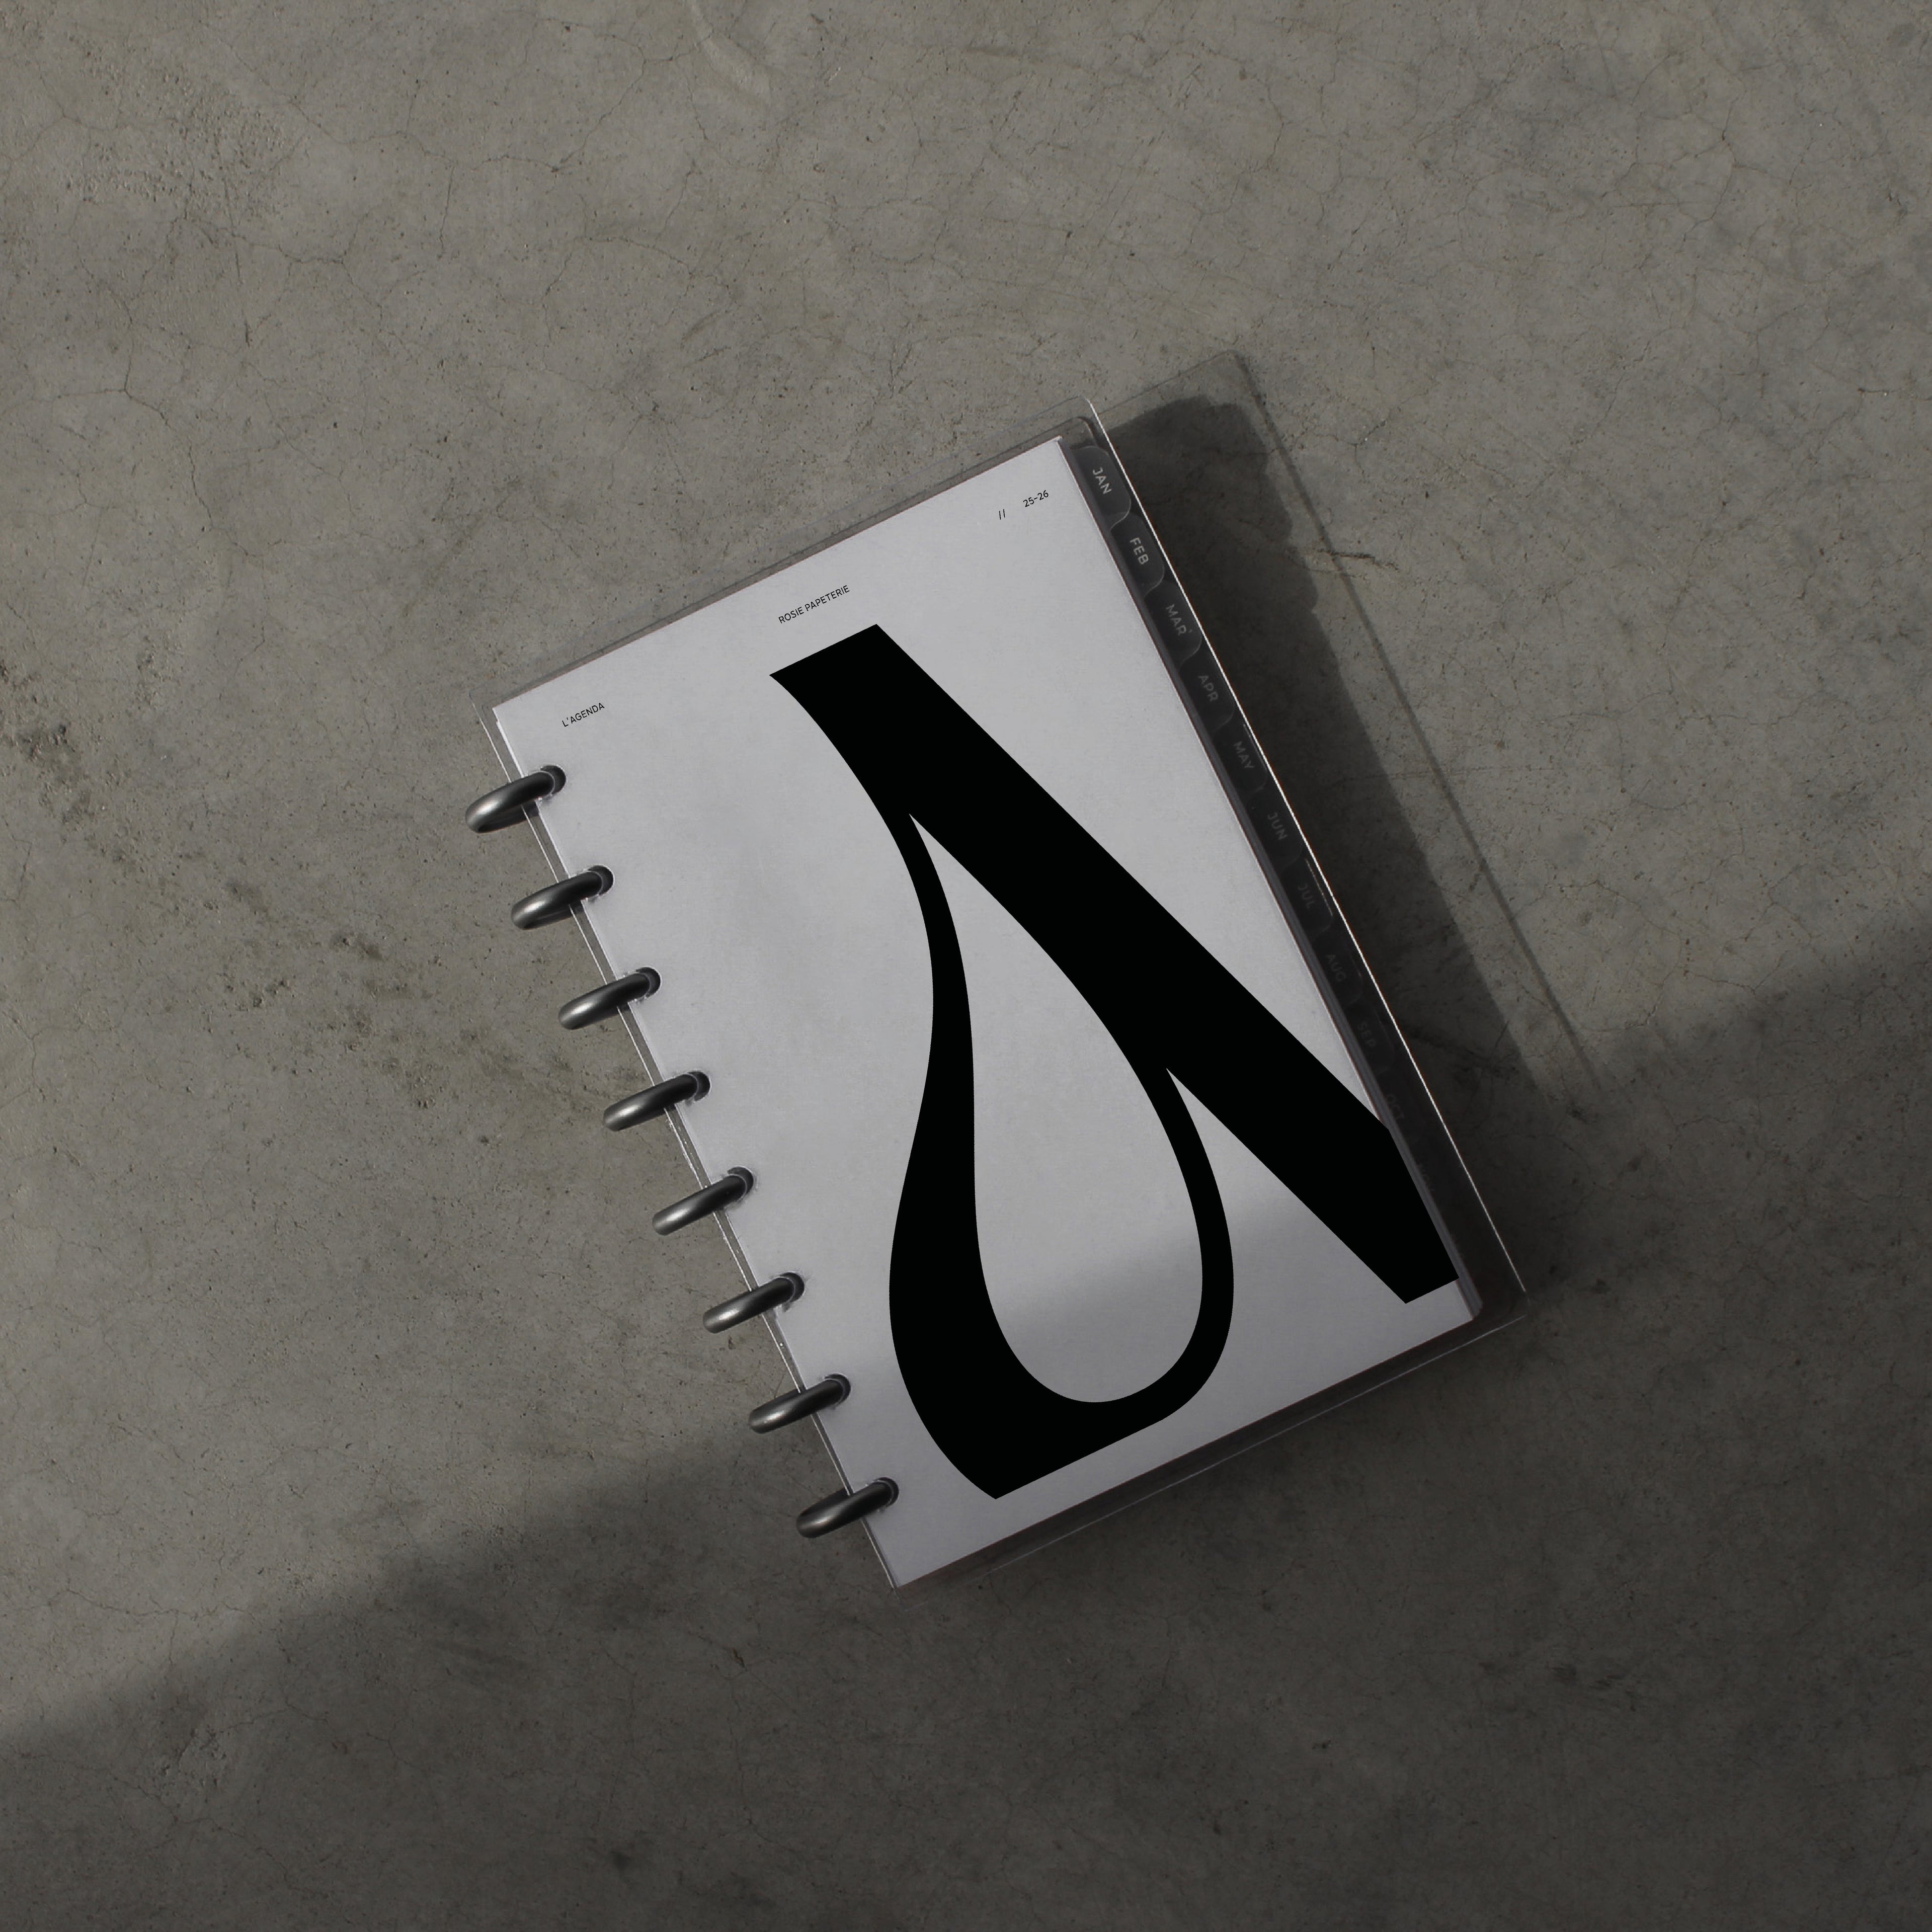
Discbound System
- Inserts are held together by discs.
- Perfect if you like total flexibility.
- Available only in Half Letter size at Rosie Papeterie.
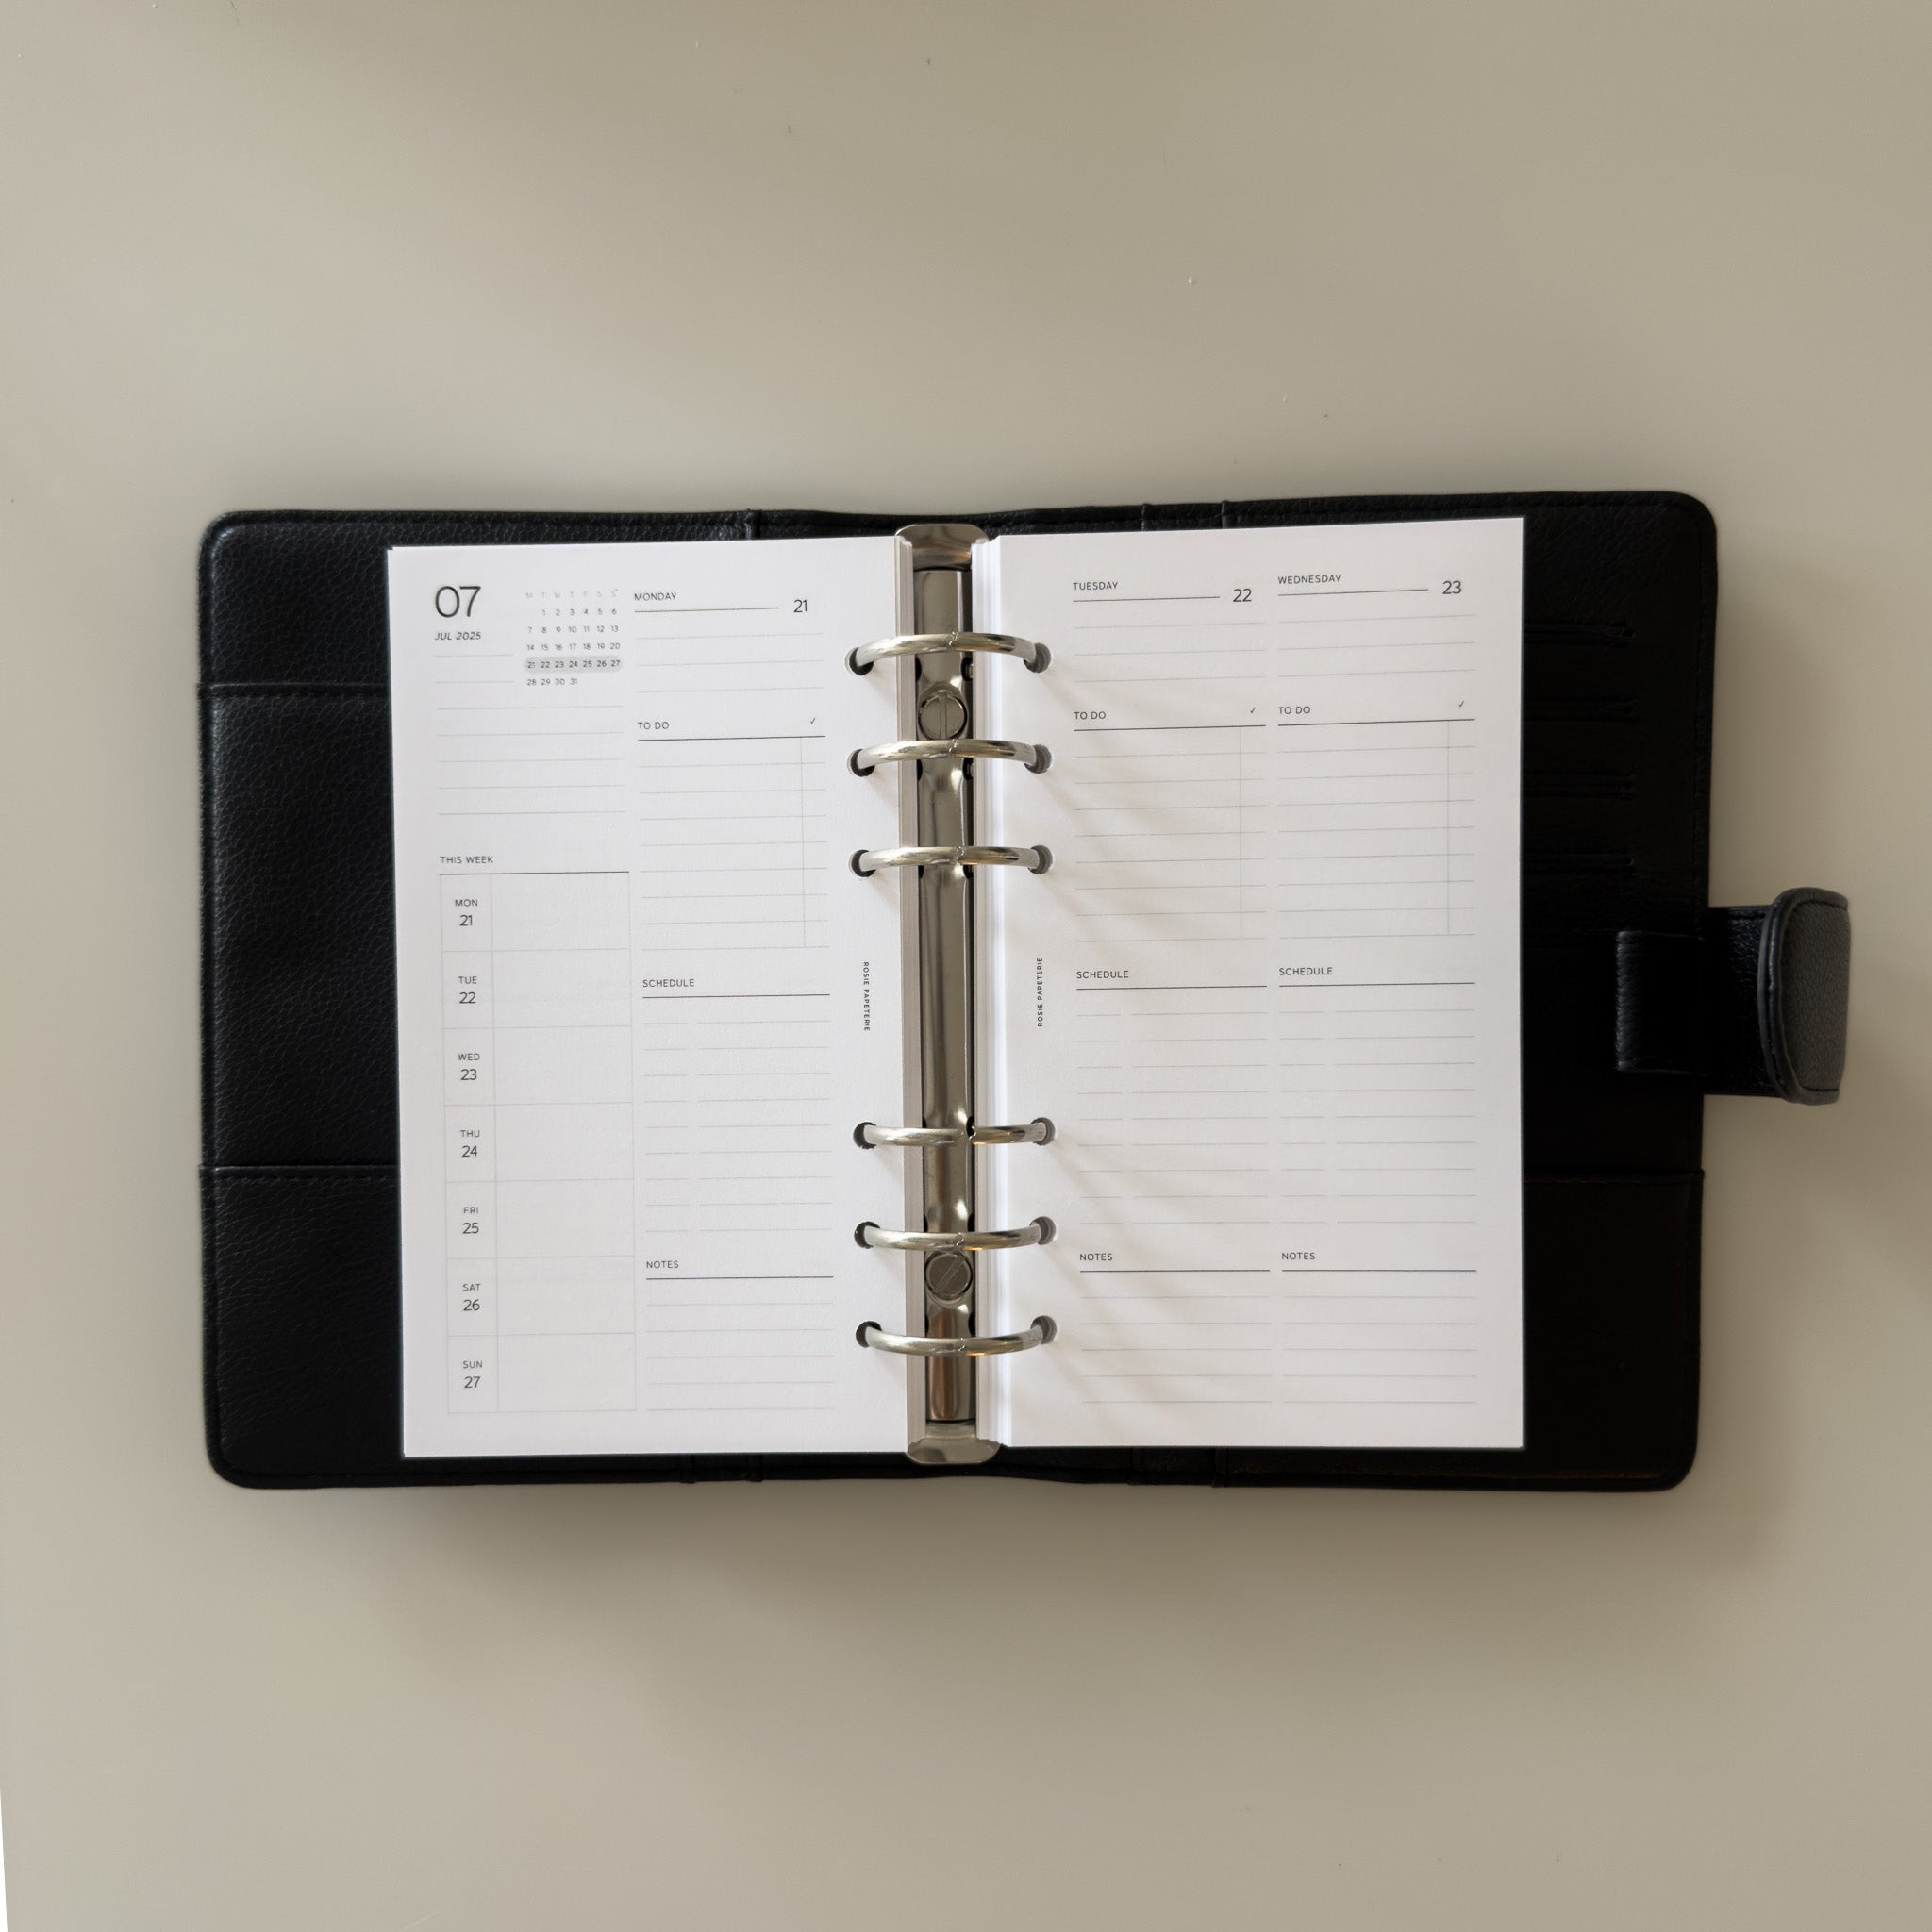
6-Rings System
- Inserts are held inside a binder with rings.
- Great if you want a traditional planner setup.
- Our printed inserts come in A5, Personal, and A6, while our binders are currently only available in A5 and Personal
2. Planner Sizes
Not sure which size fits your lifestyle? Here’s a quick look at our 3 most popular sizes :
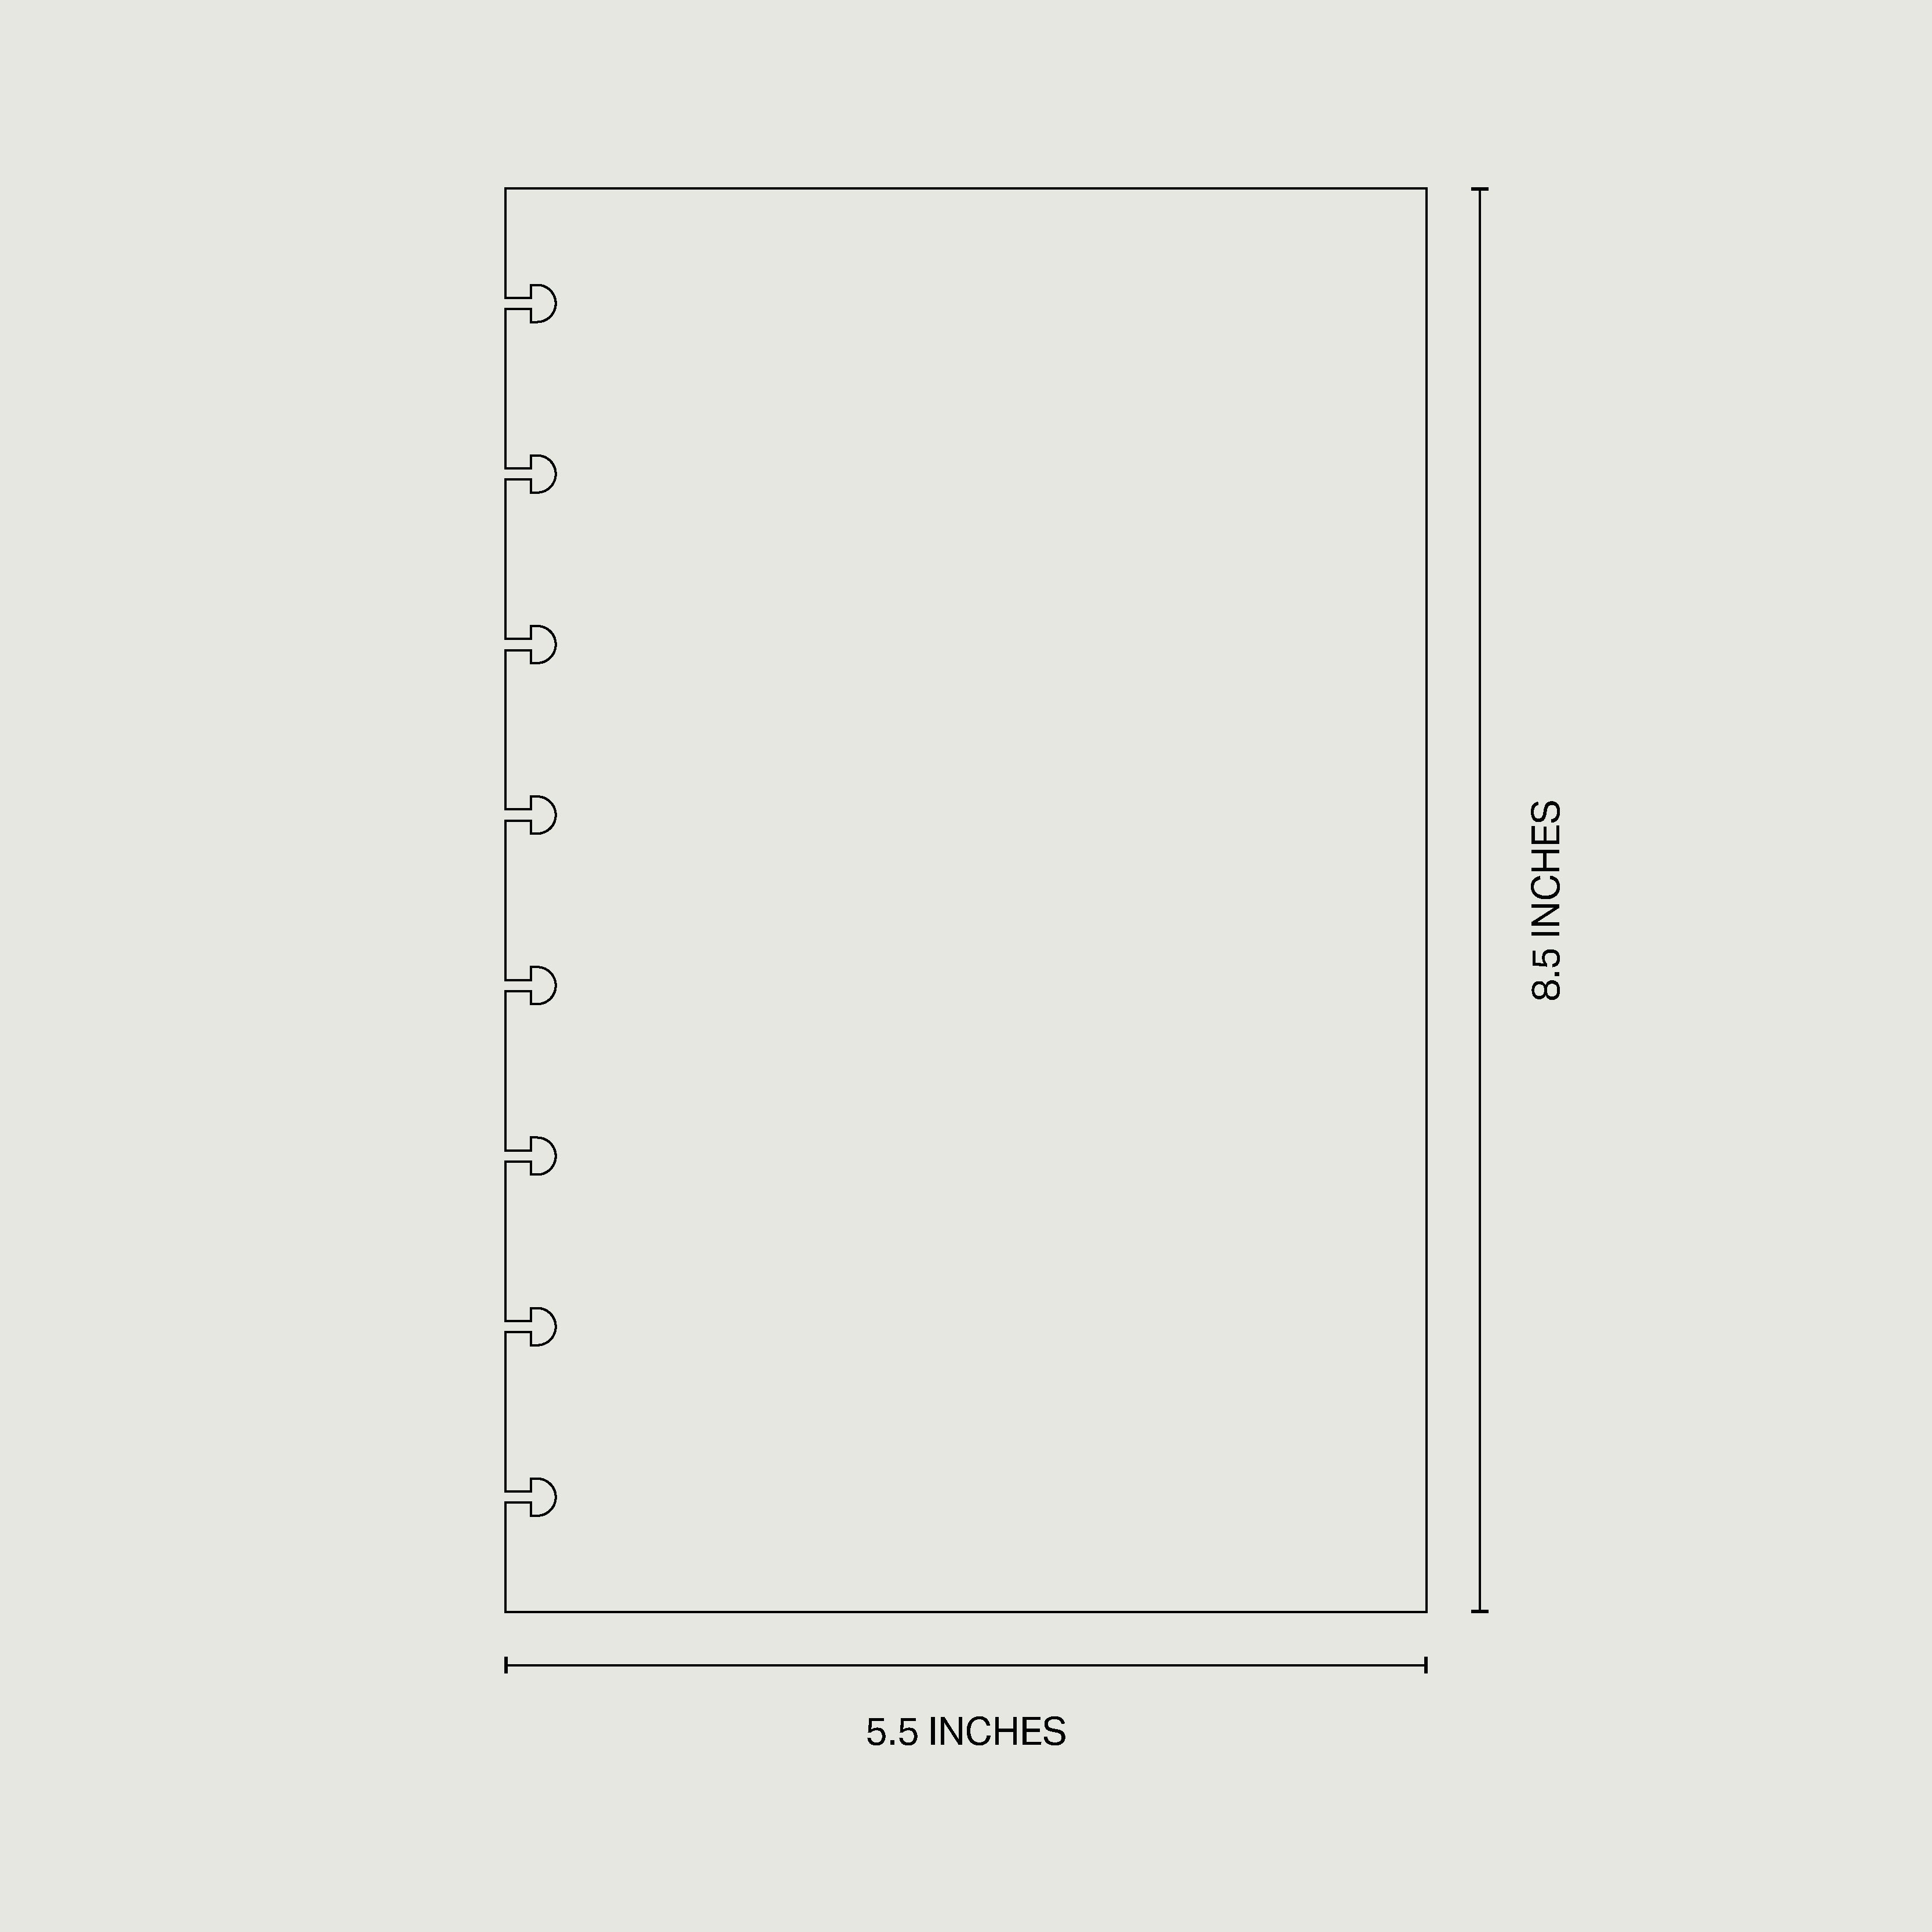
Half Letter (Discbound)
- Perfect for those who like to rearrange pages often or add extra sections
- Ideal for people who want maximum flexibility in their planner layout
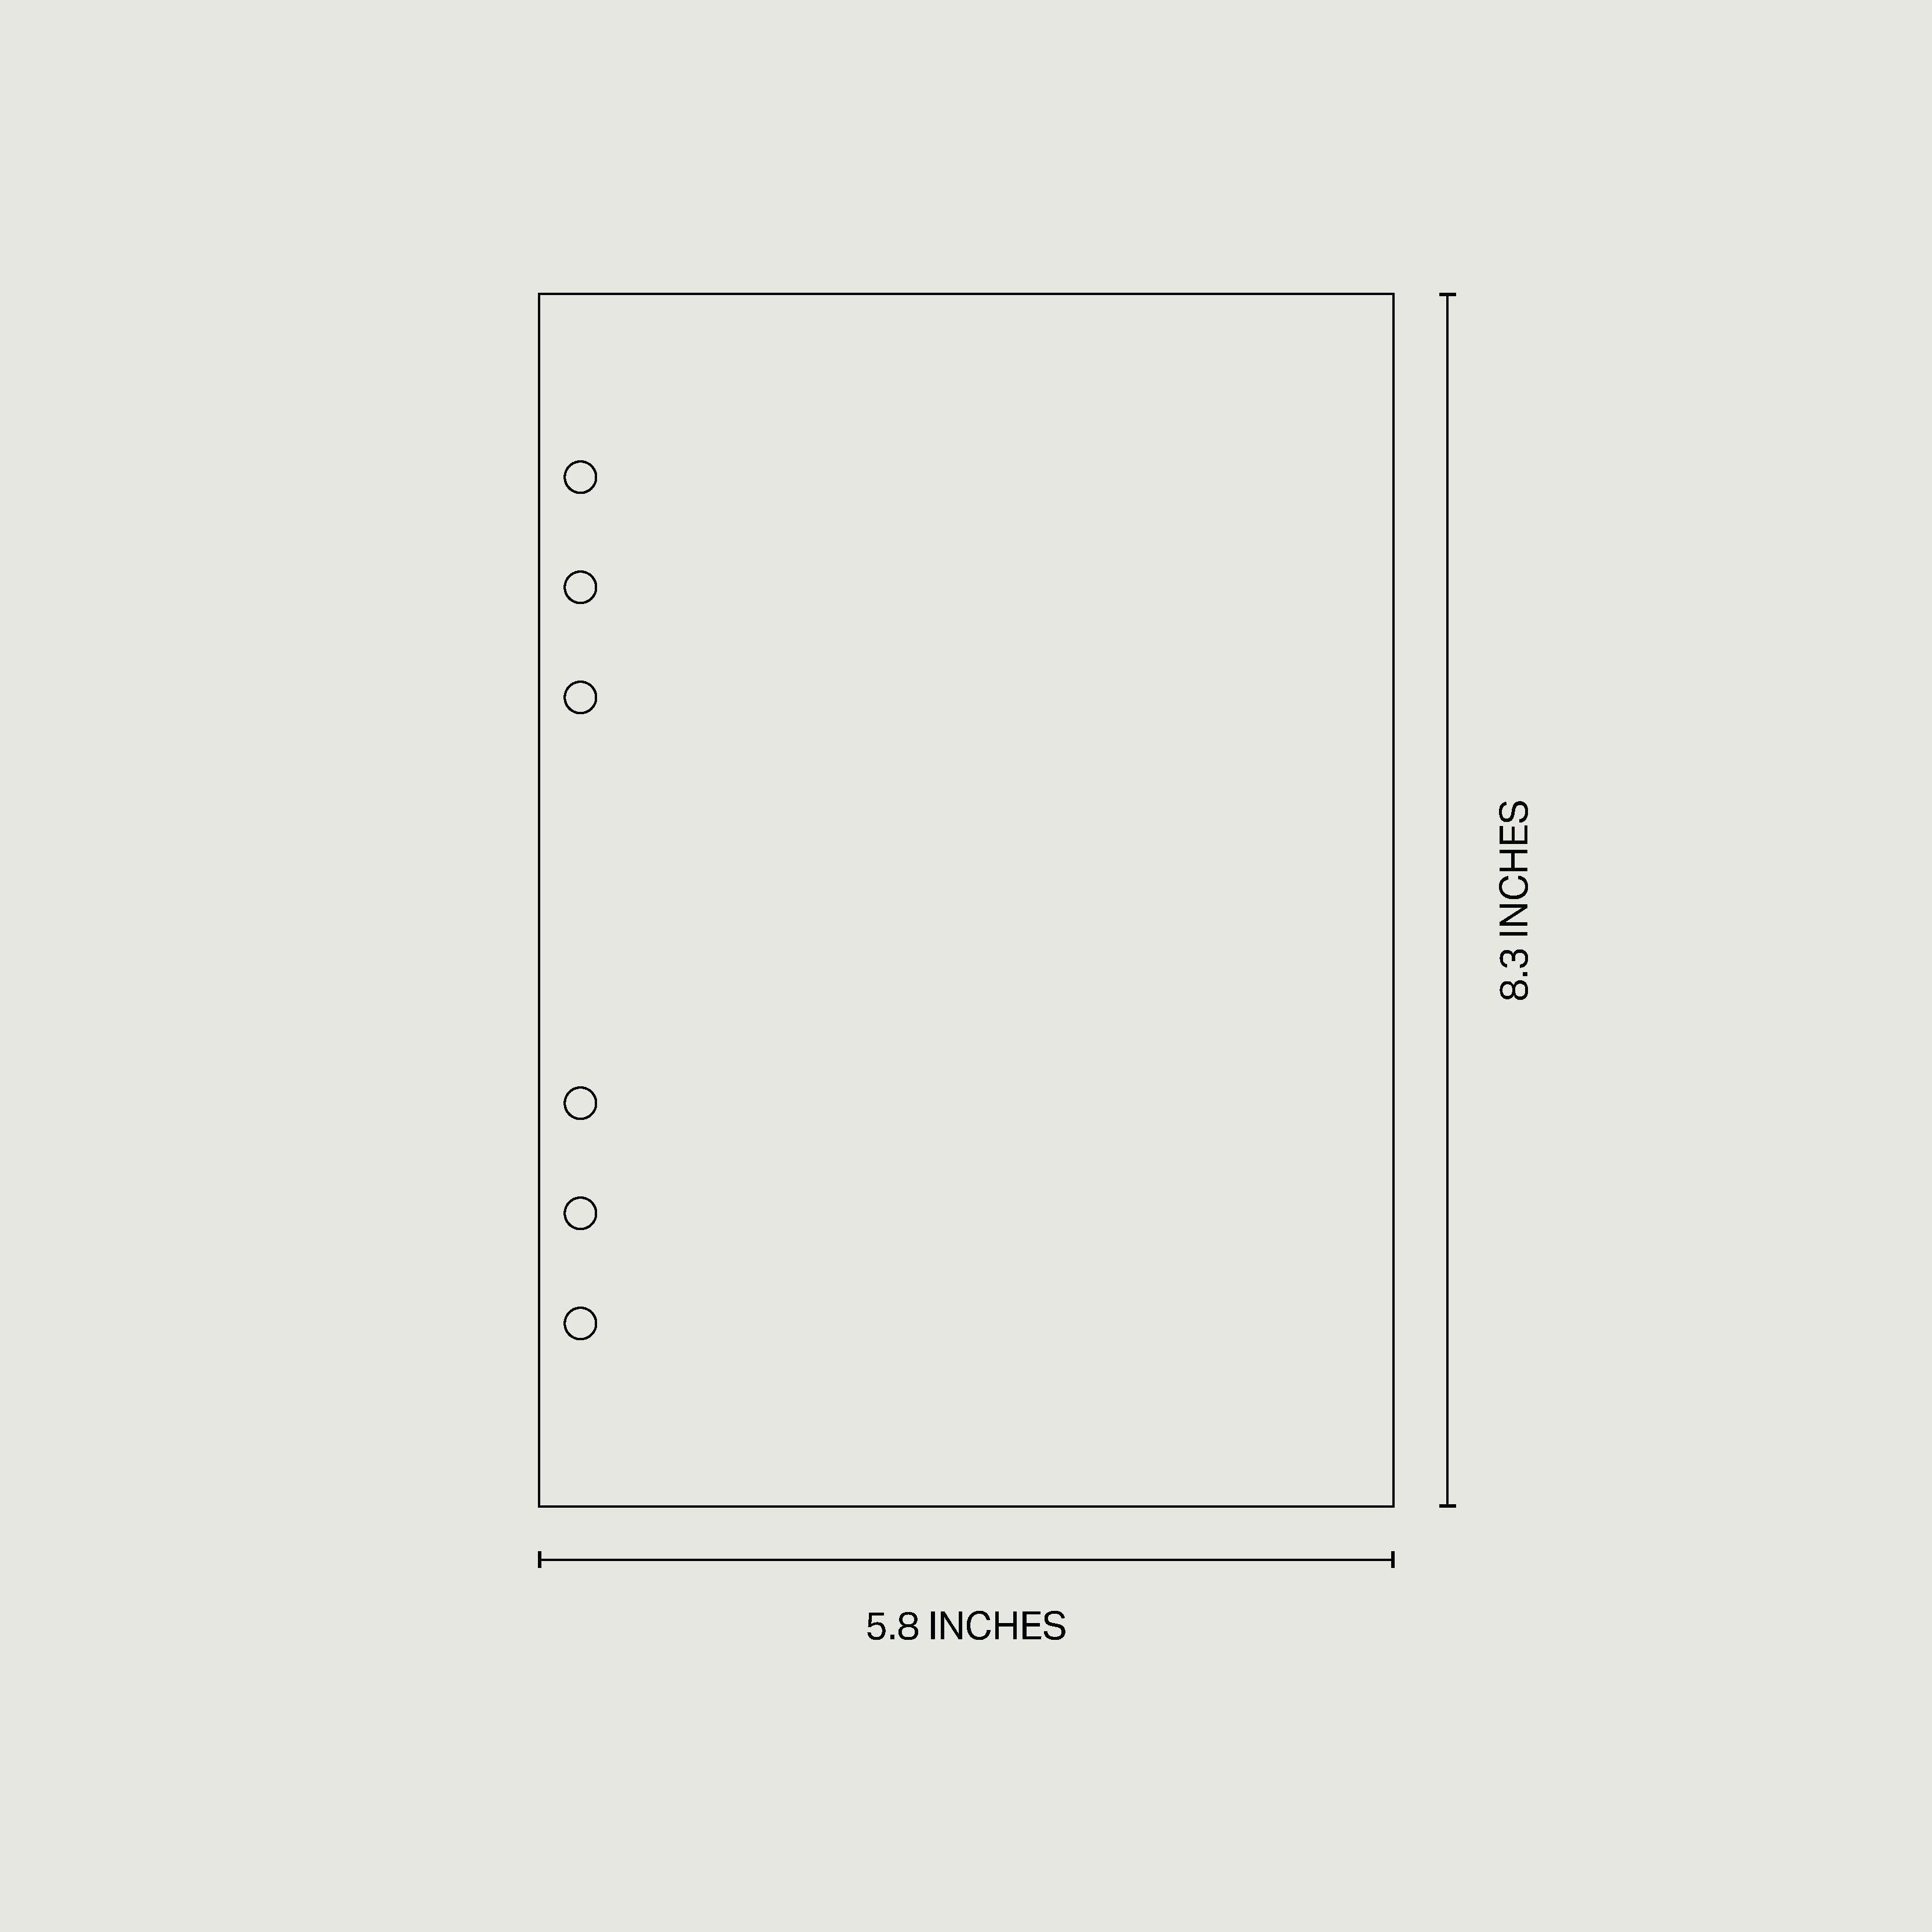
A5 (Rings)
- Spacious pages for writing, planning, or decorating
- Great for beginners or anyone who likes plenty of room to organize their schedule
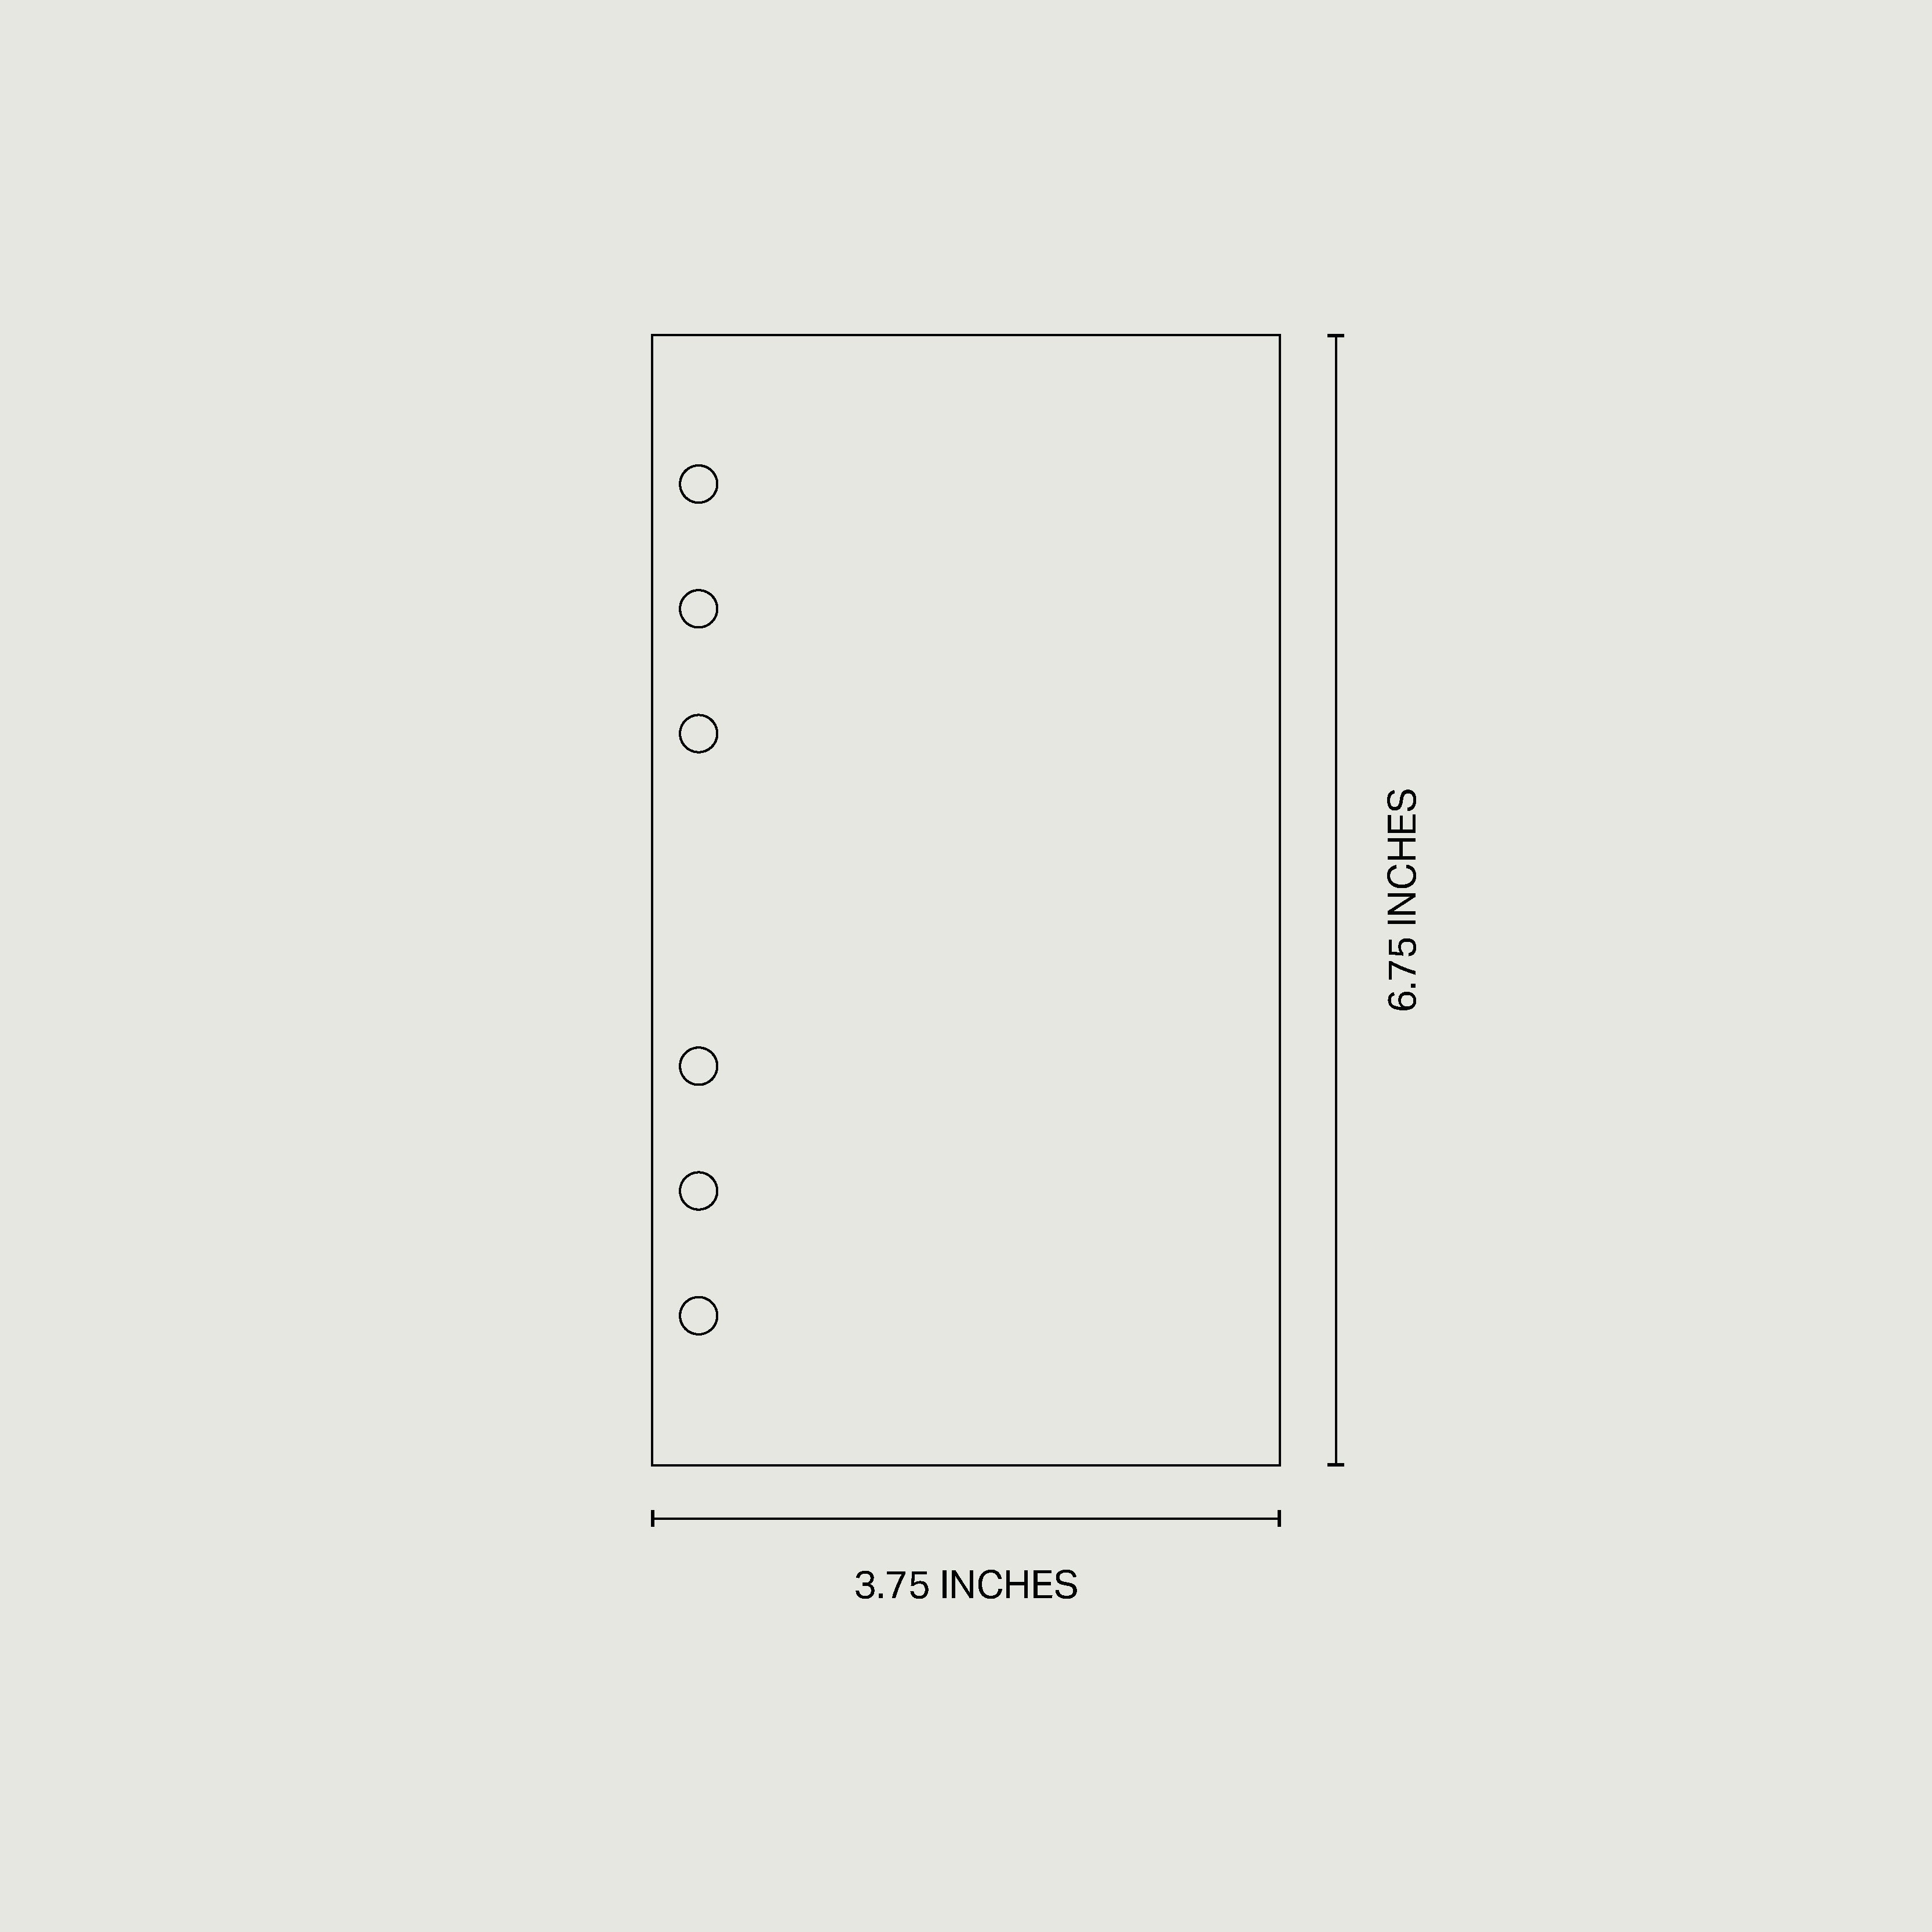
Personal (Rings)
- Compact and portable, easy to carry in a handbag or backpack
- Perfect for commuters, students, or anyone who prefers a smaller, on-the-go planner
3. What You Need to Build Your Planner
Every refillable planner has a few core components — but the exact items depend on whether you choose a Discbound or Ring Binder system.
Discbound System (Half Letter only)
To start your discbound planner, you’ll need:
- Discs → to hold your pages together and allow easy rearranging
- Plastic cover → included for basic protection of your pages
- Optional leather cover → for extra style, durability, and protection
- Inserts → weekly, monthly, daily, or specialty layouts
- Accessories (optional) → dashboards, tabs, dividers, page markers
Tip: Discbound planners give you maximum flexibility, but they require these components to be complete.
6-Ring Binder System
To start your ring binder planner, you’ll need:
- Binder → A5 or Personal size
- Inserts → weekly, monthly, daily, or specialty layouts
- Accessories (optional) → dashboards, tabs, dividers, page markers
Tip: Ring binder planners are simpler to set up — fewer essential pieces — while still allowing custom layouts and extra pages.
4. Example: Building Your First Planner
- Choose a system → A5 rings
- Pick a cover → our Contour A5 Binder
- Add inserts → L'Agenda : The Complete Planner
- Add accessories → Monthly Dividers + Page Marker
Voilà! You have a personalized planner that grows with you.
Ready to try it yourself? Explore our How to Build Your Planner Step-by-Step Guide.
5. Still Unsure? We’re Here to Help
We know it can feel confusing at first, but once you see how it works, you’ll love the flexibility. If you’re still unsure, you can book our planner consultation and we’ll help you choose the right setup.